btw....Steve is here as webscrambler again
Thanks-a-Lot Steve.....
+++++++++++++++++++++++++++++++++++++++++++++++
UPDATE....Jan 5, 2008
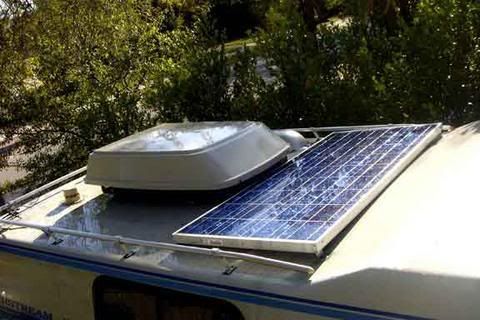
I installed a Kyocera 120 watt solar panel just a two weeks ago. This unit fits just between the air conditioner and the bed room down angle (1995
190)..and just inches to spare on either side of roof rack.
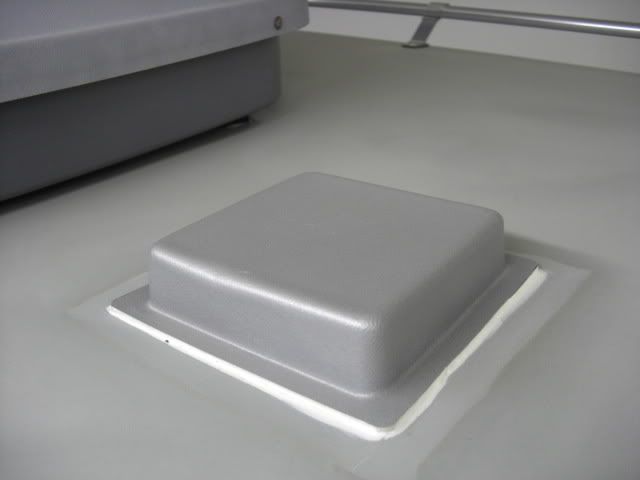
The grey box on top of the RV, just ahead of the air conditioner unit has the solar wires. (1 red wire and 1 white wire)
The wires are above the interior light.
The wires run to the converter. (mine were capped with wire nuts at each end ).
Forget trying to use these wires to pull larger wire...they are tied to the other coach wiring behind the paneling.
Repost....from Steve Holm
Solor Panel used...Kyocera 120 watt solar panel
After doing extensive research on solar panels I decided to use this panel because it was the largest that would fit the top, produced the most and was the most efficient for the money. Most people using solar panels suggested that they wished they had gone to a larger panel than they had...so, I doubled the capacity I thought I'd need. A little more money buys a lot more panel.
Also, ask if they have blems..a panel should last over 25 years and a scratch on the aluminum frame will only be seen by God and the birds...I saved $100 this way.
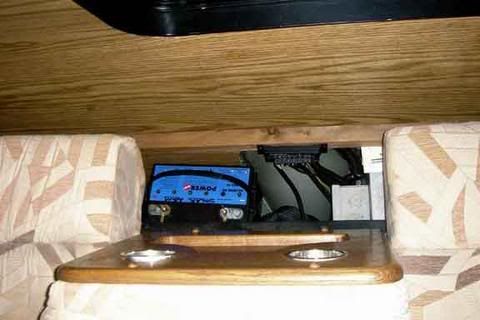
Don't forget to use a controller between your solar panel and converter box ( I used a sunsaver 10 amp). I also purchased a AGM (absorbed glass mat) battery...completely sealed, use in any position, no fumes....and located it behind the sofa.
_________________
+++++++++++++++++++++++++++++++++++++++++++++++++
March 2007 by Steve Holm...
OK Dave, you asked for pictures...well, here are some pictures of
modifications I've done recently on my "new" 190. It's been a while since I've communicated with the 190 group.
I've had an interesting time with my first 1995 Airstream 190 and was just
about to go on another adventure last year when my wife totaled the RV (she's OK).....I was able to buy it back from the insurance company for very little to cannibalize whatever had value....
Having previously determined that the 190 was the best RV available for my type of travel, I looked for and found another (1996) in Alabama (I'm from Florida) with only 36,000 miles in absolutely great condition at a fantastic price! I prefer this floor plan to the `95...somehow it feels more open with the stove and refrigerator transposed.
This year I've been on a several short trips of a few hundred miles-which
added up to 4,ooo miles- to see how it performed and to tinker with my toys.......
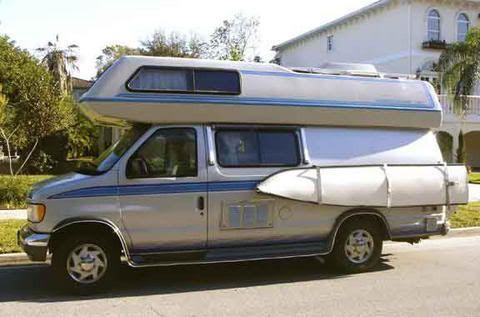
So, here is the new improved version with all my modifications! See the
photos! You will note the solar panel ( Kyocera120 watt ) fits perfectly behind the bedroom hump and in between the air conditioner and the sides of the antenna/ rails, so there's no wind resistance ( it's also right above the Airstream 190 prewiring box for solar power).
The AGM (absorbed glass mat) battery fits under the sofa (this is a second coach battery-the first remains under the hood). Solar controller is under the sofa as well. This type of battery is safe to use inside (no gas emissions) and can even be positioned on its side!
There's room for another under there, but one seems to be enough.
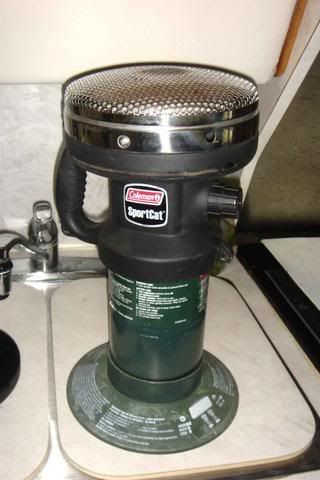
I've noticed in the past that using the furnace at night killed the
battery...and left me cold in the mornings. I purchased a Coleman catalytic propane heater to take the edge off...but, the solar panel and additional coach battery really solved this problem!
I can run the furnace all night and still have power in the morning. Other than running the air conditioner, the solar panel takes care of all my electrical needs and replenishes the batteries quickly. Always buy more solar panel than you think you need...after reading blogs about solar panel use, that was the one comment everyone seemed to make. I figured I needed at least 50 watts so I got over double that...glad I did!
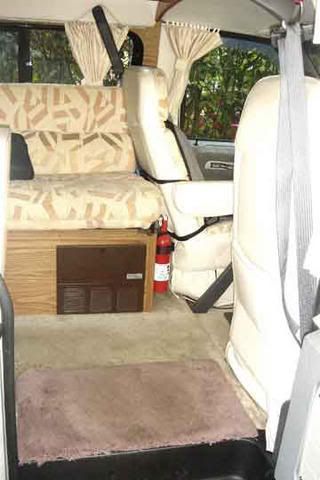
I relocated the fire extinguisher from the side entrance to behind the
drivers seat. Out of the way and yet easy to get to.
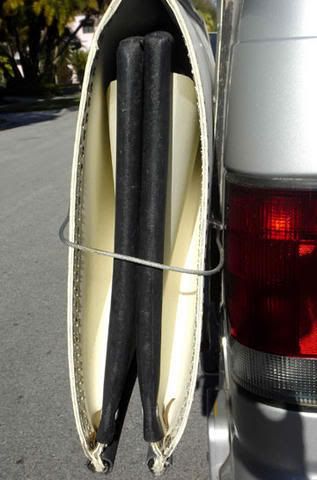
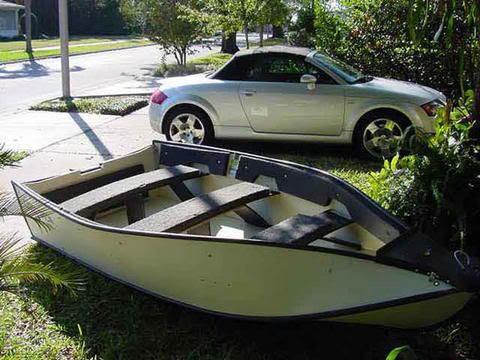
I added mounts on the drivers side of the 190 for my 10' Porta-Bote. It goes together in 10 minutes, carries two easily and can plane with one! Look at their web site if you're not familiar with this unsinkable boat ...it is remarkable! (the rear ladder holds my 3.5hp Tohatsu outboard). Unfortunately, I have to keep the seats and transom in the shower stall. Haven't figured this one out yet. I don't want to climb the ladder with
the seats and transom to put them on the roof. If I travel alone I can put them in the overhead bed......http://www.porta-bote.com/
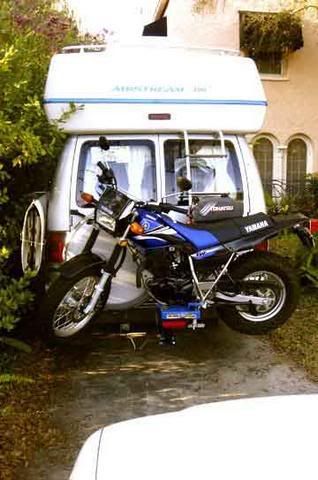
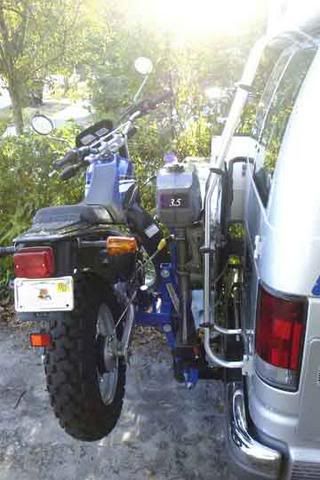
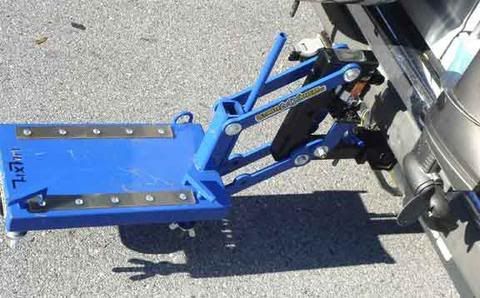
I bought an Ultimate MX Hauler lift for my Yamaha TW200 dual sport dirt bike. (it really is very easy to use). fits in the hitch receiver. The yamaha is street legal so you can use it as transportation as well as exploring the wilds.
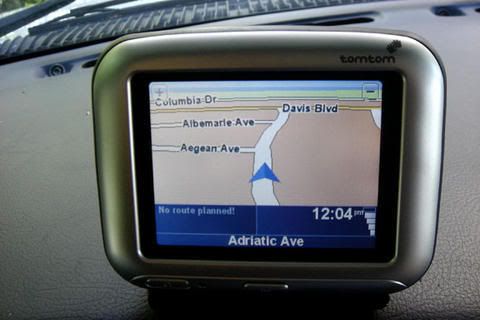
Have mounted a TomTom 700 GPS on the dash of the 190 and a Garmin Etrex Legend C on the bike so it's hard to get lost....even when riding miles off road to a rarely fished lake. The GPS is velcro mounted. the hook velcro attaches things easily to the interior fabric of the RV to hide stuff behind drapes or make flashlights and things easy to find.
I have internet with my cell phone service and have used a data cable to
connect with my Apple powerbook, the phone functions as a modem (get the data cable and software on EBAY). (have a Hawking Technology wifi search device as well... when I'm in a populated area)....Sad to say there's no little cell service in the wilds of Montana,Wyoming, North and
South Dakota, etc etc ..So, the shelf above the sofa is filled with books and my computer has two solid weeks of mp3 music. The laptop plays dvds.
Life is beautiful!
Hope to see some of you on the road....over the years I've only encountered 3 or 4 190s on the road. Where are you guys?
We out here Steve....